Introduction
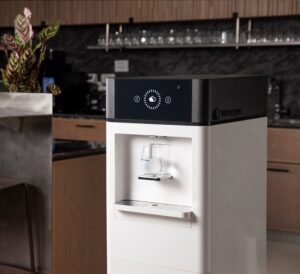
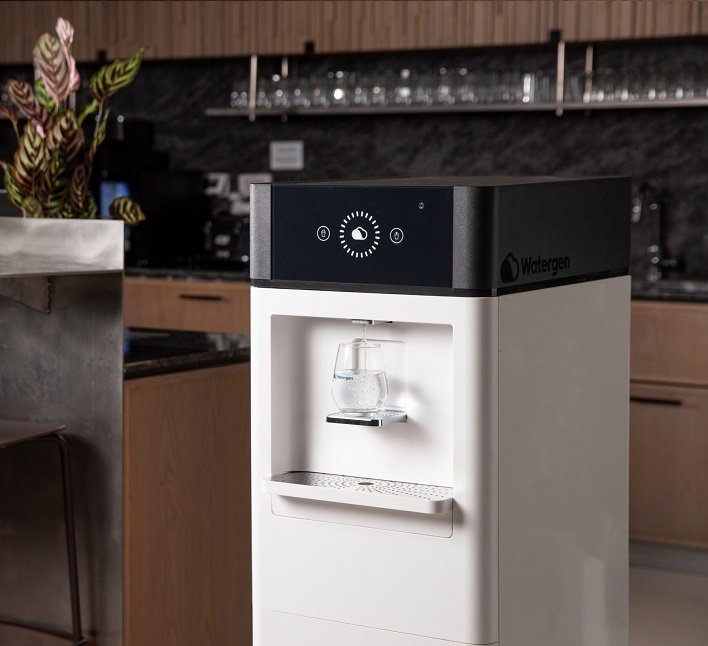
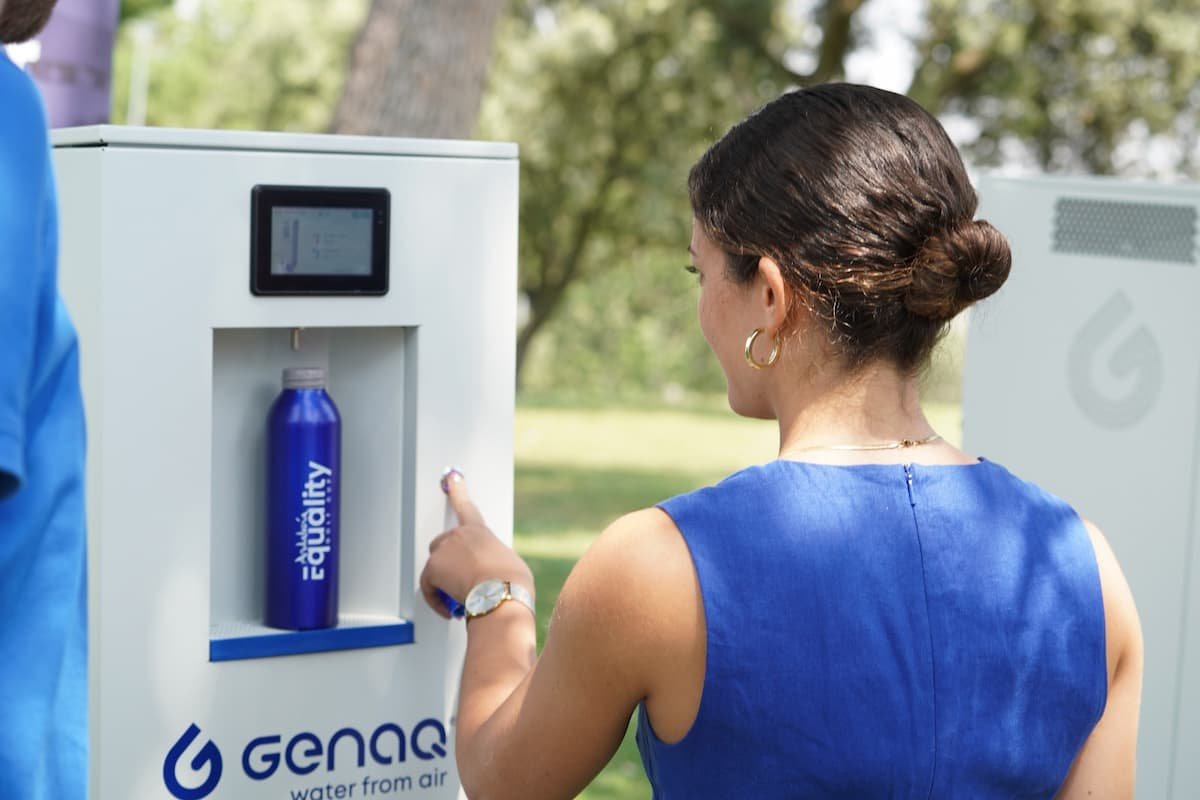
Having access to an independent source of drinking water is now a solution many households are looking for. The atmospheric water generator (AWG) captures the humidity present in the air and turns it into pure water, ready to drink.
For a single-family home, a model producing between 20 and 40 litres a day comfortably covers a household’s needs for drinking and cooking water.
In this article, we will look at how to go from purchase to installation, and how to optimise your unit’s output.
Understanding how an atmospheric water generator works
The principle of humidity condensation
The generator draws in ambient air, cools it to trigger the condensation of the humidity it contains, then collects that water in an internal tank.
Filtration and purification
The resulting water passes through several filtration stages: sediment filter, activated carbon, UV, and so on, guaranteeing water free of bacteria, heavy metals and odours.
Advantages:
- Production happens on site, autonomously and continuously
- There is no longer any need to transport or store bottles
- Plastic consumption is reduced as a result
Choosing the right model for a house
Capacity and output
For a household of 2 to 5 people, a 20 to 40 L/day model is ideal.
Output depends directly on the humidity level and the ambient temperature.
As a rule, the temperature needs to be above 15°C and humidity at least 35%.
Power consumption
Favour models with good energy efficiency.
Consumption is usually between 300 and 600 watts while water is being produced (0.3 to 0.6 kWh).
Filtration quality and certifications
Look for CE marking on the unit, and NSF, ISO, Water Quality or equivalent certifications to guarantee drinking water meeting international standards.
Brand, warranty and after-sales service
Go for a manufacturer offering responsive after-sales support with spare parts available.
This is an important point to check with both the manufacturer and its distributor, so you get a quick response if something goes wrong.
Preparing the installation
The ideal location
- A well-ventilated room (garage, utility room, plant room) is perfect, but any other room will do.
- Do not place the generator flush against a wall or another appliance, so as not to obstruct air intake and exhaust (20 cm is normally enough).
- The unit makes a fan noise (a bit like air conditioning), so take care with rooms that need to be completely silent.
- Temperature between 15°C and 35°C
- Minimum humidity of 35% for it to produce.
Electrical connection
Plug the unit into a dedicated socket with residual current protection.
Tools required
No tools are required — no screwdriver, no gloves, not even a trolley to move the unit, since it is generally on castors.
Once in place, you simply need to wait 24 hours before plugging it in if it has been shaken or laid on its side.
Like a refrigerator, it uses a compressor, so the unit needs to settle before being used.
Installing the generator step by step
- Unpacking: check that all the parts are there (filters, cables, manual).
- Positioning: place it on a flat surface, do not build it in.
- Connection: after waiting 24 hours if it has been shaken or laid down, plug it into the dedicated socket.
- Start-up: switch it on and wait for it to produce; read the user manual carefully beforehand.
- Precautions: check the manufacturer’s recommendations if it will be left unused for a long period.
Maintenance and optimisation
Filters
- Replace the filters at the recommended frequency (generally every 6 or 12 months, or every 2 years).
- Clean the air intake grilles.
- Clean the accessible trays.
Water quality
Check the unit’s indicator lights regularly. You can also test the quality yourself with a water tester.
Optimisation
If output is low, move the unit to a more humid area and ventilate the room.
Budget and payback
Purchase cost
A domestic 20-40 L/day model costs between €2,500 and €6,000 depending on the options.
Power consumption
Budget on average €10 to €25 a month depending on output and the local electricity tariff.
You can relate that cost to the number of litres consumed each month (300 litres if you use 10 litres a day, for example).
Comparison
Compared with buying bottled water, the return on investment can be reached in 2 to 4 years depending on your region.
On islands where drinking water is only available in bottles and those bottles are expensive, payback can come down to a single year.
Strengths and limits to know
Strengths:
- Autonomy and supply security
- Quality water, always available
- Reduced environmental impact
Weaknesses:
- Output varies with the climate
- Relatively high initial cost
Conclusion
Installing an atmospheric water generator at home is a lasting investment, both ecological and practical.
With the right location, regular maintenance and a model suited to your needs, you get pure water continuously, produced right where you live.
FAQ
What is the minimum humidity needed to produce water?
Ideally 40% or more; below that, output drops significantly, although a unit will generally still produce from around 30%.
Does an atmospheric generator work in winter?
Yes, but output is lower if the air is cold and dry. The generator needs to be inside the home so that the temperature stays above 15°C.
What is the average lifespan of the unit?
Between 10 and 15 years with good maintenance, and often longer.
Can it be connected to a home water network?
Generally not, unless you are handy with DIY.
Some generators can nonetheless treat external water by drawing it in and passing it through their filters.